Image from Freepik
To install Docker on WSL (Windows Subsystem for Linux) Ubuntu, you'll need to follow a few steps.
Here's a simple tutorial to guide you through the process:
Step 1: Enable WSL on Windows 10/11
If you haven't already, you need to enable Windows Subsystem for Linux (WSL) feature on your Windows system. You can do this by following these steps:
1. Open PowerShell as Administrator.
2. Run the following command:
dism.exe /online /enable-feature /featurename:Microsoft-Windows-Subsystem-Linux /all /norestart3. Restart your computer.
Step 2: Install Ubuntu on WSL
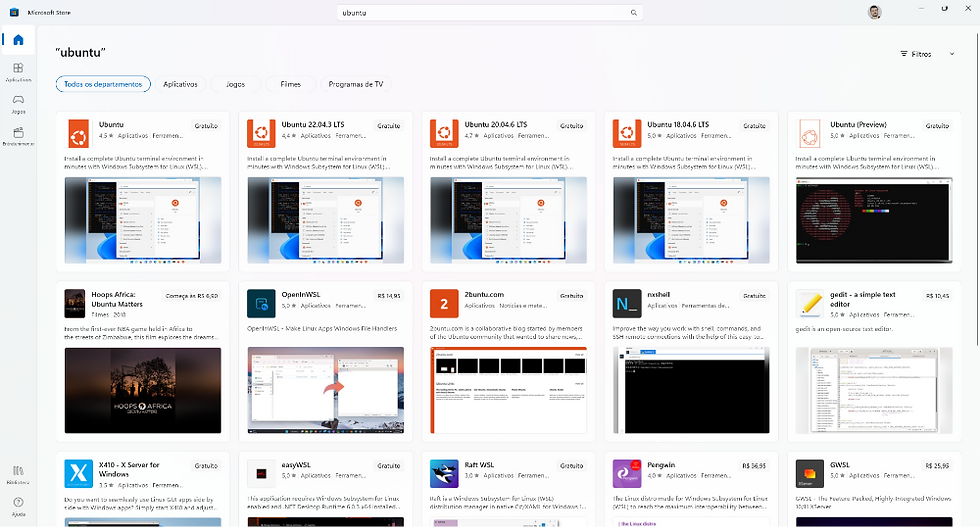
1. Open Microsoft Store.
2. Search for "Ubuntu".

3. Choose the version of Ubuntu you want to install (e.g., Ubuntu 20.04 LTS).
4. Click on "Install" and wait for the installation to complete.
Step 3: Initialize Ubuntu
1. Launch Ubuntu from the Start menu.
2. Complete the initial setup by providing a username and password.
3. Update the package list by running:
sudo apt update4. Upgrade installed packages to their latest versions:
sudo apt upgrade
Step 4: Install Docker on WSL Ubuntu
1. Add Docker's official GPG key:
curl -fsSL https://download.docker.com/linux/ubuntu/gpg | sudo apt-key add -2. Add the Docker repository to your system:
sudo add-apt-repository "deb [arch=amd64] https://download.docker.com/linux/ubuntu $(lsb_release -cs) stable"3. Update the package database with Docker packages:
sudo apt update4. Install Docker CE (Community Edition) on Ubuntu:
sudo apt install docker-ce -y5. Verify that Docker is installed correctly by running the following command which will output the Docker version:
docker --version
Step 5: Manage Docker as a Non-root User (Optional)
By default, Docker commands require root privileges. If you want to run Docker commands without `sudo`, you can add your user to the `docker` group:
1. Add your user to the `docker` group:
sudo usermod -aG docker $USER2. Run the command to restart docker:
sudo service docker start3. Log out and log back in or restart your system to apply the changes.
Step 6: Test Docker Installation
1. Run a simple Docker command to verify that Docker is installed and working correctly:
docker run hello-worldIf everything is set up properly, you should see a message confirming that Docker is installed and functioning correctly.
That's it! You now have Docker installed and configured on WSL Ubuntu. You can use Docker to create, deploy, and manage containers directly from your WSL environment.
留言